Some of my recent free video tutorials...a recap!
There are some of you who may never find this video tutorial goodness on Instagram, so I am going to start recapping a few of my recent video tutorials here for you. The best part of these little gems is the community building that is taking part in the comments! So many artists are sharing their own tips and tricks in there, the videos have become a powerhouse reference tool if you read through the comments! I’ve learned some great stuff from maintaining the comments too!
(This website uses affiliate links, meaning: at no additional cost to you, I earn a small commission if you click-through and make a purchase. As an Amazon Associate I earn from qualifying purchases. I only feature products that I believe in and use myself. )
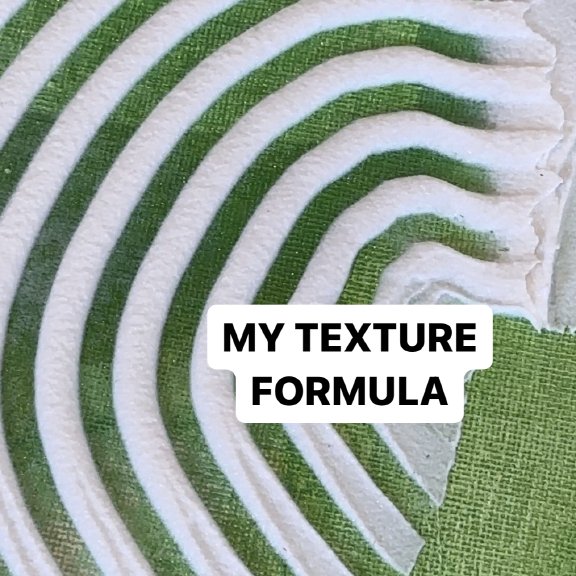
I started thinking a lot about texture after I saw several videos go viral which featured homemade recipes (using common kitchen ingredients) to make texture similar to the texture shown in the photo above. I tested the recipes I saw and was horrified with the results for a few reasons. When I made my own “texture paste”, the paste required much more paint to add color to it than if I were to use a texture medium. Users commented and DM’d me about problems they were having with these recipes which included: texture cracking, falling off their painting, GROWING MOLD and mysterious moisture formations on the paintings. SO GROSS. The truth is, that a medium like the one I show in the photo above costs about $16, $28 for a larger tub. It will dry properly without cracking, it will take paint without flaking and best of all, your artwork will remain archival and your can rest assured if you sell your work, your collectors will be happy. Tap the image to see the video. See the medium pictured above in my links here.
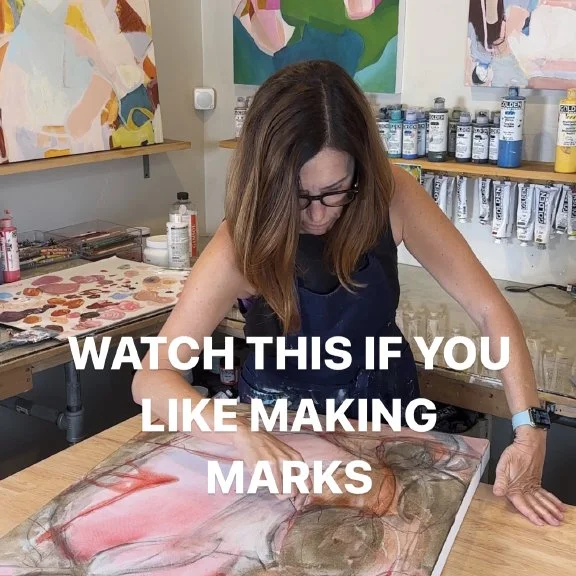
This video is for you if: You would like to make beautiful marks with the ability to erase them, you love an art supply with a plethora of uses, you like to add bold color to your art and you want the added benefit of your mark making tool to be water soluble (think bold washes of color!). There are so many ways to use these Neocolor II artist crayons. I use them in some capacity in probably every work I make. They are really densely pigmented too and the crayons last a really long time. Some commenters added that they use them by taking them to a wet brush to load color on the brush, adding the shavings (from sharpening) to acrylic mediums and I like using them on a wet canvas. Here is a link where you can get your own set. I think these are a must have for sure.
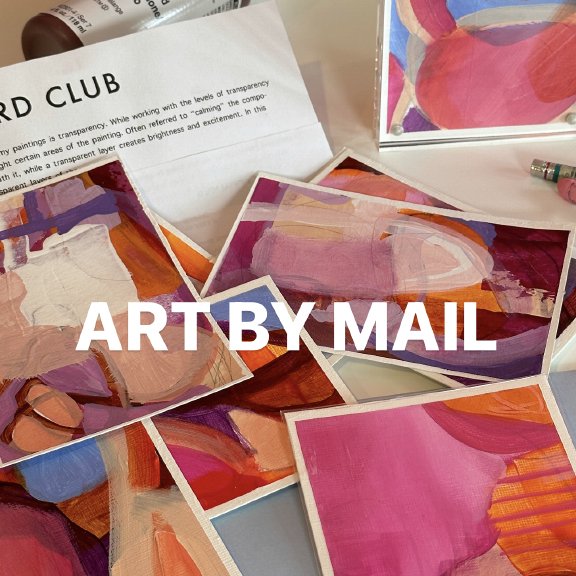
This video blew up. If the amount of people who saved this video was in any way close to the number of people who signed up for my passion project, I would be making these full time! I’m Gen X, and I vividly remember a conversation I had with an older childhood friend about reinvention. I have awesome online workshops that have touched so many students over the years. I have written two books now on acrylic painting and I am lucky enough to sell my original paintings and ship them all over the world. For everyone who has been a fan of my art, but not able to see it in person, I developed this monthly subscription service. “Card Club” was an idea that I had to get my techniques and my art into as many HANDS as possible so that anyone could see and touch the art. I had no idea if the idea would work, but now into my 2nd month of producing these small paintings, I am so happy I did it! You can tap the image above to see what the club includes..and if you want to sign up, you can find the details here.
I just picked up Airbrush Medium a month or so ago. I cracked it open for the first time in this video and was blown away. I found the medium to add a load of “slip” to my paint, thus stretching it with ease across the canvas. WITHOUT DILUTING THE PIGMENT STRENGTH. The glide it produces with heavy bodied paints is unbelievable. So many people commented on the video that they use it too. A commenter wrote they add some of it to their paint bottles when the bottles are almost out..to get every last drop. You can use it to make ink for filling needle tip bottles or markers. I used it in a recent painting to add thin layers of paint. The Glazing Liquid I use allows the paint to dry very slowly. The Airbrush medium dries at regular speed. You can find these both in the “mediums” section of my supply links.
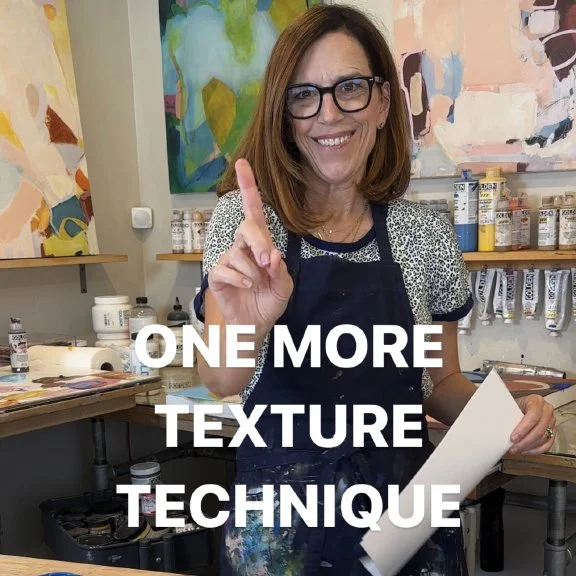
Over the years, I think the most time I have spent on any painting topic is “paint application”. Years ago, when introduced to deli wrap paper, I began experimenting with using it to add paint and also using it to remove paint from the surface of my paintings. Monoprinting and lifting. When you have a nice coat of paint on your art, say the second or 3rd layer, a piece of this paper pressed into the paint and then lifted can create a beautiful texture. The bonus is that you get a really cool piece of collage paper when you are done. So many people have difficulty understanding what kind of paper this is exactly, and it is called different things in different regions. I have it linked on my supply page also if you want to see it. I can say that locally, the price of the paper is -the shipping cost less- than the price on amazon. So for example, if you can find the paper locally, you’ll save about $15 or so, the cost of what a package would be if you had it shipped Priority to you. Believe me, I get so many messages about this paper, I can tell you that I have looked into buying a load of it for resale. It’s very heavy to ship, so Amazon has us covered. It’s towards the bottom of my links, under the “OTHER” section. My best tip when shopping for this paper is to NOT buy it in a 100 sheet pack from a reseller.. 1000 sheets will last a really long time and will be more accurately priced.
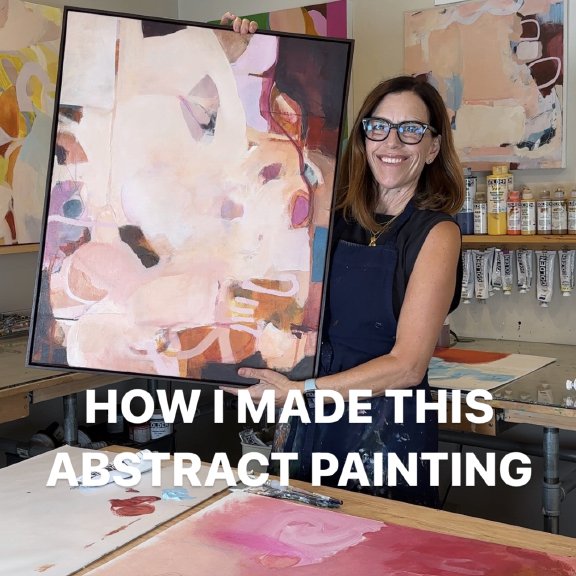
A lot of people save videos like this, which tells me they are appreciated. 🙌 I have really thinking about my paintings and breaking them down in stages so that they are easier for me to process. I write in my journal for every painting and that practice has helped me understand things that I like and things that may be too repetitive, etc. I streamlined my way of painting in the last year or so and it has really helped my mental process and the paintings are not lacking in anything that I have not had in them before. Win-Win! In this video (tap the image) I highlighted the majority of the paint application steps that I used in the painting, “Back to February”. Sometimes if you feel stuck or if you want to switch up your process, watching how other artists apply paint can be the trick.
